

A quick insight and an expert guide on how to cut a shag.
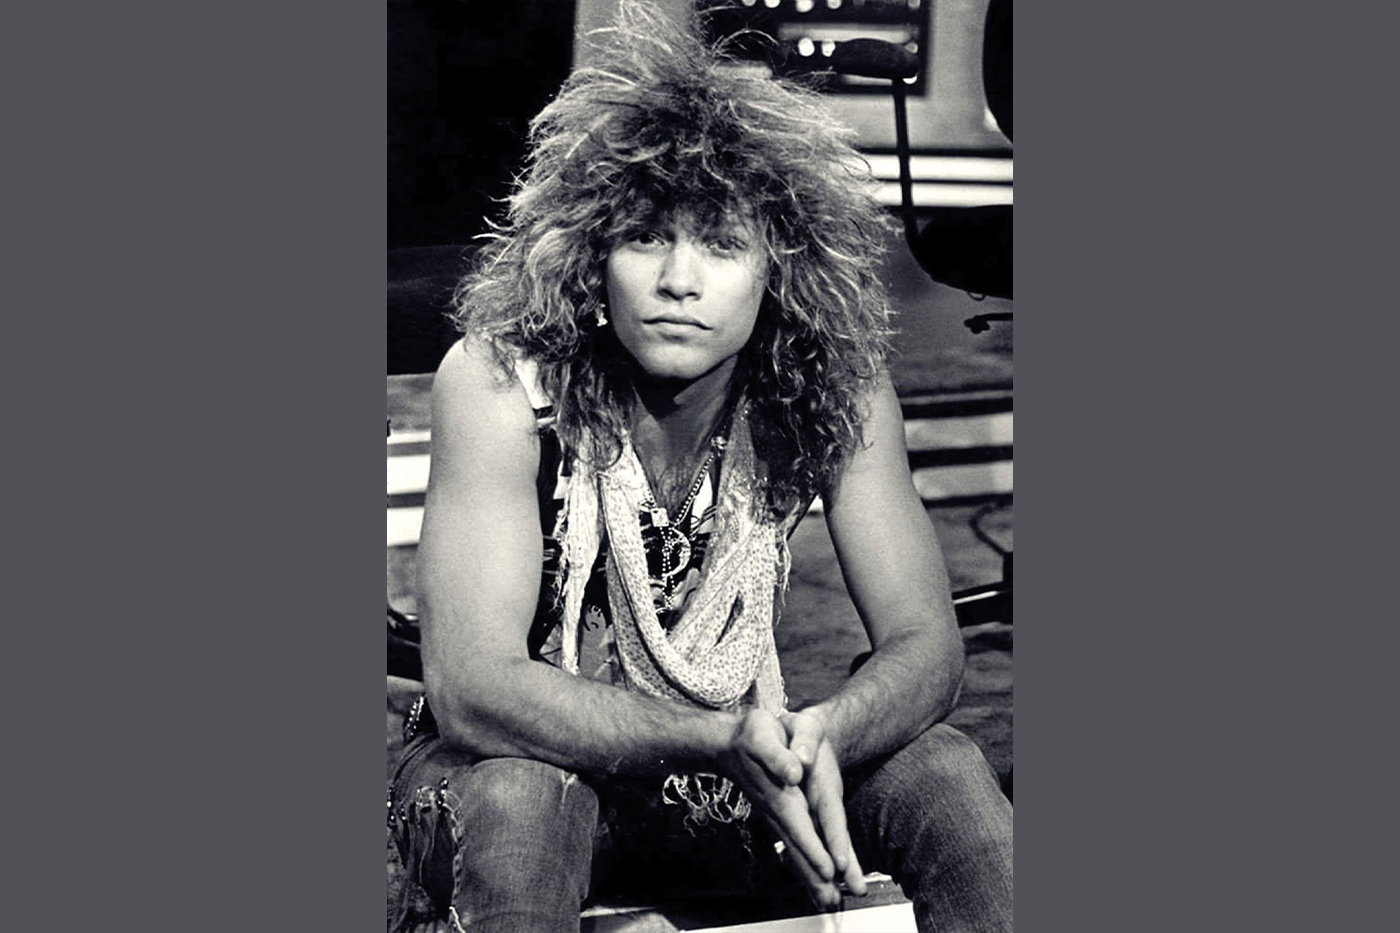
A rebel feel from the sleek long hair, the Shag has a very distinct look. Having had its ‘Heights of Glory’ quite literally and perfectly worn by Rock Stars shags are the trendiest styles of the day since the 1970s, comes through as a zero-maintenance style, quite a rulebreaker and a versatile hairstyle that looks great with any hair type. Its speciality is having uneven and choppy layers and it works for both men and women.
While a shag does take some inspiration from the Mullet, the layers fall freely around the face, especially the sides (in a Mullet the sides are cut closer). Some examples are Bon Jovi, Rod Stewart, Tina Turner, Michael Bolton, Madonna to name a few.
Shags Then and Now
The Shag was originally created by Paul McGregor. He did it on Jane Fonda in 1970 and the style became a rage in the 1980’s when different versions of the shag were adapted. It had more dramatic layers, lifting the crown area and tapered to longer lengths on the sides and back.
The modern Shag has a bit more movement, is more beachy, strong-structured, with modern lines, is lighter, with focus around the face. On-trend colours can work with the Shag. Balayage, Classic Highlights or Global, it all depends on the client’s need and choice. A bit of texture play is all it needs to add that quirkiness to the look.

Steps to Cut a Shag
Step 1: Section the hair and leave a 1/2-inch perimeter around the head and the area you want to have for the bangs. Cut the bangs to the preferred length and move back to cut a guide for the preferred length at the nape of the neck.
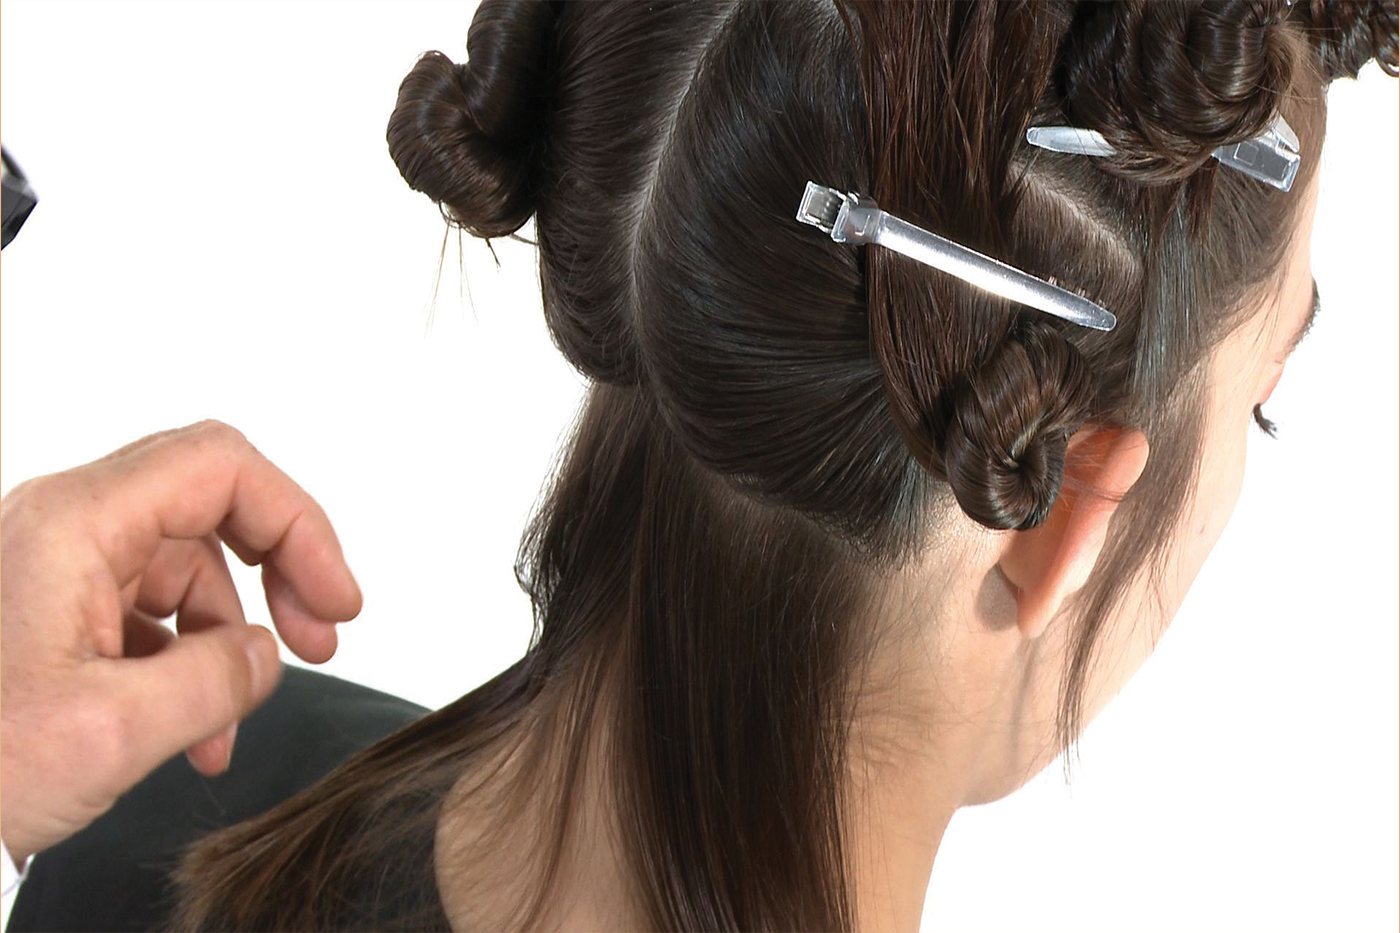
Step 2: Cut the perimeter creating the desired shape you want the hairline to follow in the final look.
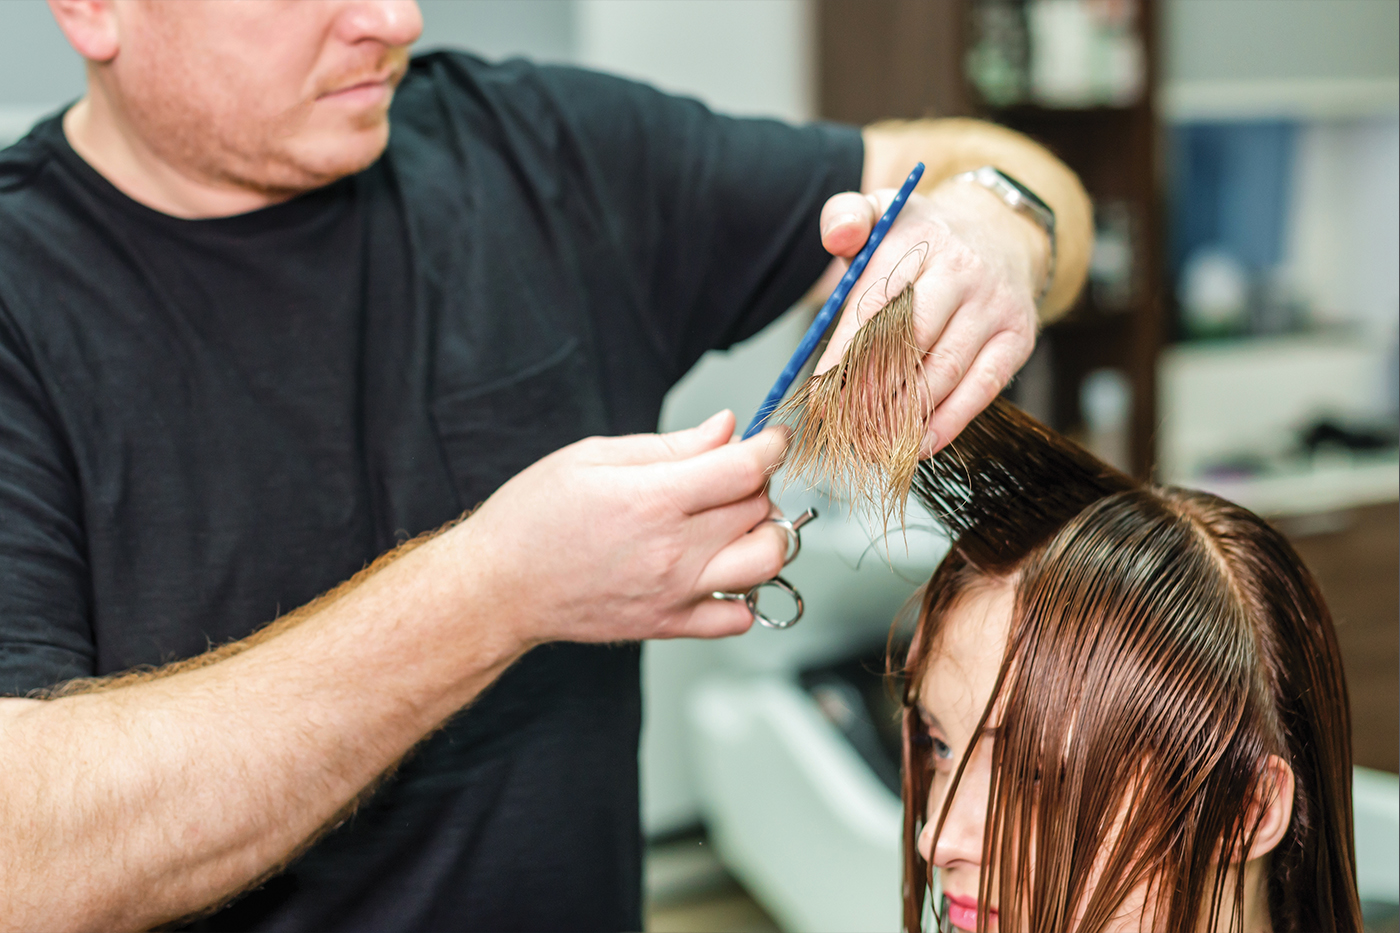
Step 3: Take down the top section of the hair and cut to the desired length to matching the top guide, by combing a slice of the guide at the centre of the second section upward to the centre at the top of the head.
Step 4: Working from either the back or the front of the head, take thin vertical slices of the hair and comb them upwards and make sure to cut towards the centre guide for a straight horizontal line. Continue till the hair is cut to the guide length at the top of the head.
Step 5: Leave the remaining sections at the bottom and cut by combing thin slices straight up to the guide length. Blend the lengths of the perimeter into the guide length as you reach the bottommost sections of the hair to maintain the desired shape.
Cross-check the cut by picking the hair outwards in horizontal slices checking for “corners” or “protruding” hair that could have been missed while cutting. Make sure the cut is even and style the hair as desired by the client. You can also texturize the hair using thinning shears to create a softer the look and allow areas to lie flat, or use a razor to achieve a smooth finish.
So, if you have clients who are bold enough to pull off this spunky look, give them a shag and let them grace it in style!


